Set relationship types
One part of the initial traceability setup is configuring the available relationship types.
Note
You must have organization admin permissions to complete this task.
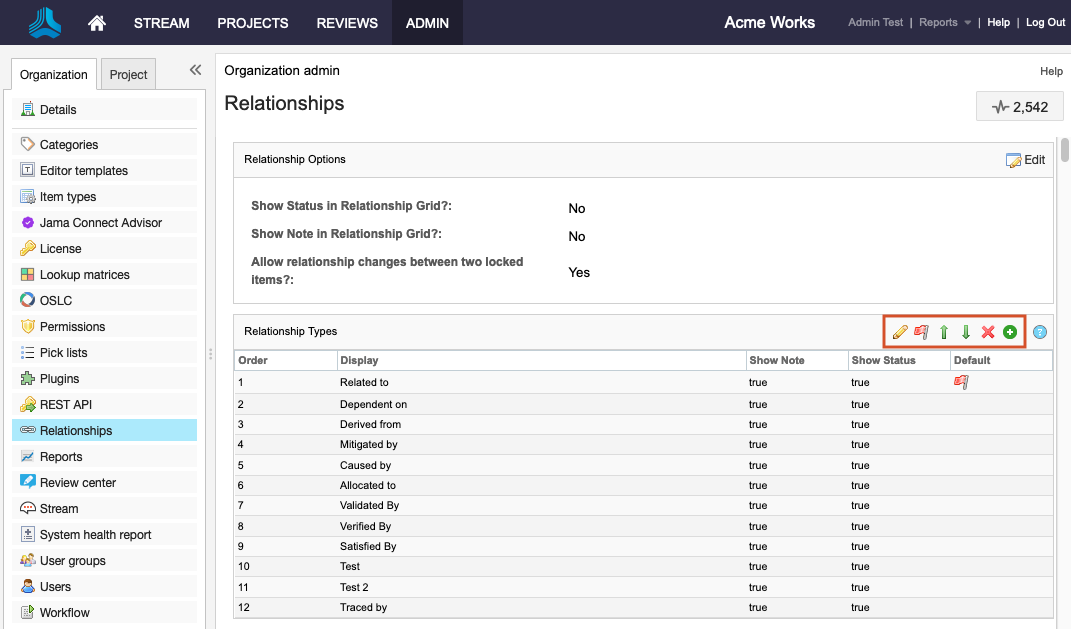
Select ADMIN > Organization, then select Relationships.
Under Relationship Types, use the icons to add, edit (pencil), delete (X) or reorder (arrows) relationship types.
When adding a new relationship type, enter a display name and description. The description is only visible in this edit window.
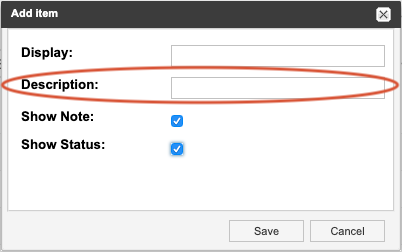
(Optional) Select Show Note and Show Status to allow users who create a new relationship using this relationship type to enter a note and a status for that relationship.
Status and notes are visible any time you reopen the Add/edit relationship window.

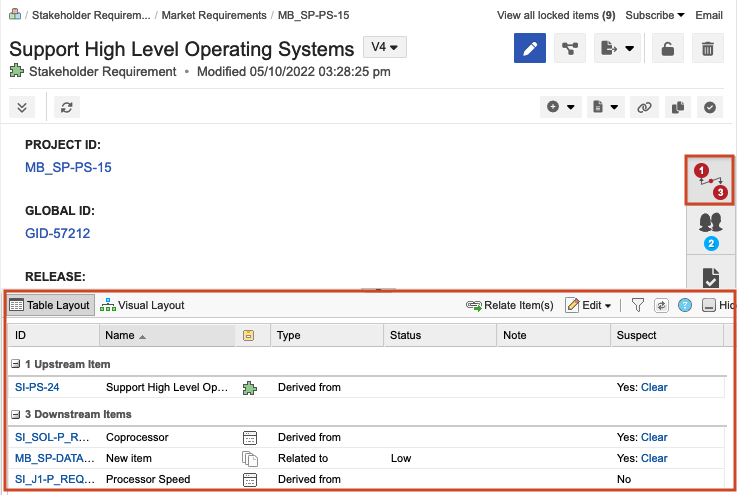
Status and notes are also visible in the bottom panel of Single Item View when Relationships is selected.
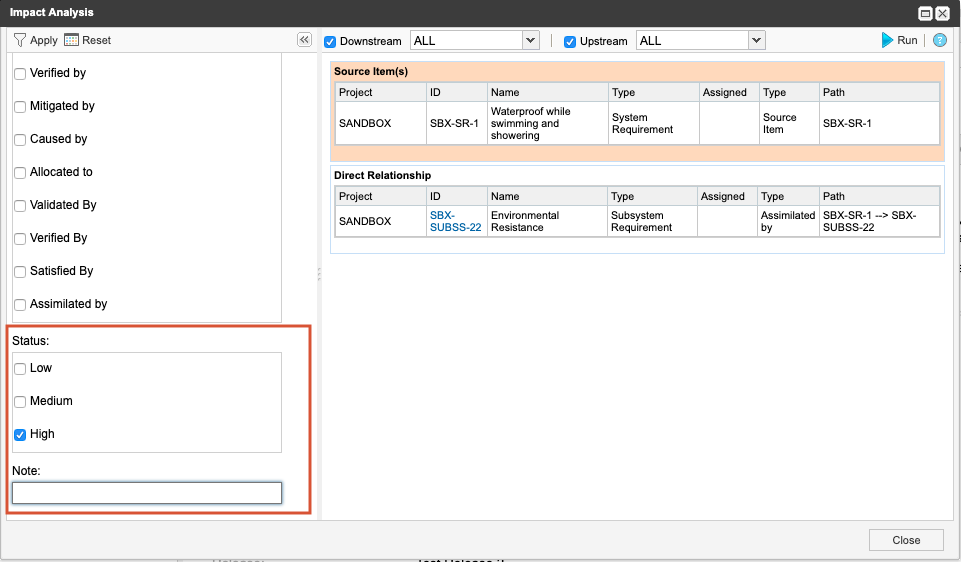
In an impact analysis, you can filter by status or note.
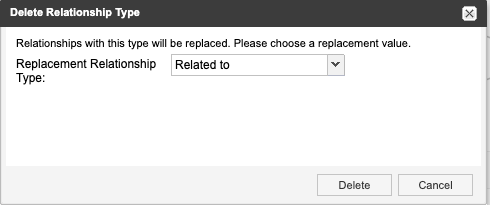
If you delete a relationship type, choose a replacement type for affected relationships.