Manage tags
From the Tag Management tab, you can view, edit, and create tags. Once you add a tag, users have access to it for their project.
You can also allow enable the Allow tag management for locked items option for a project, allowing users to add or remove tags from user-locked items and system-locked items.
Organization and Project Admins only
You need organization or project admin permissions for this task.
To manage your tags:
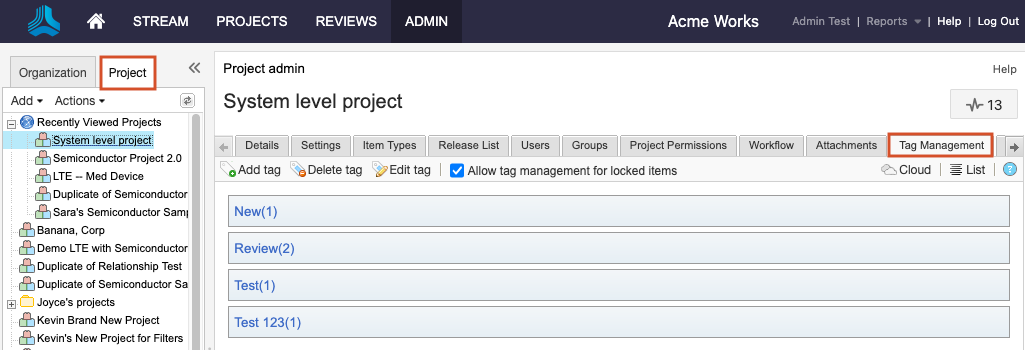
Select ADMIN > Project, then select Tag Management to add, edit, delete tags, or enable the Allow tag management for locked items option.
Select the option you want to modify the tag.
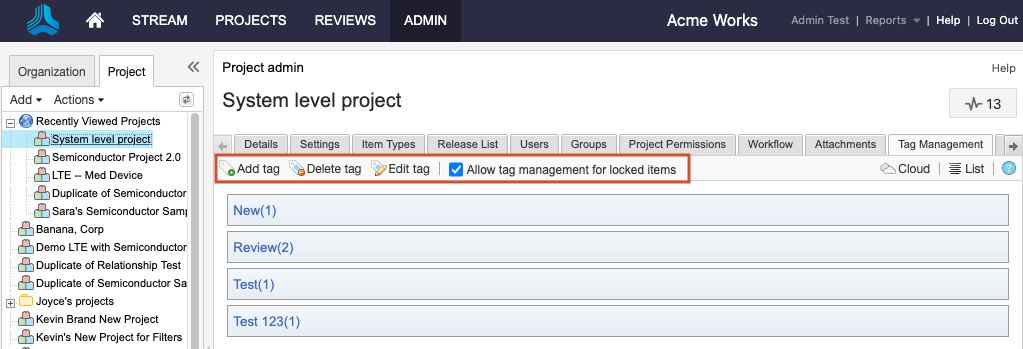
Add tag — Select Add tag, enter the tag name, then select Save.
Delete tag — Select the tag you want to delete, then select Delete tag.
Edit tag — Select the tag you want to edit, select Edit tag, change the tag name, then select Save.
Enable tag management for locked items — Select Allow tag management for locked items.
If you enabled Allow tag management for locked items, this functionality is now available for users in that project’s Single Item View, List View, batch edit, and via the REST API.