Set up projects workflow
Note
You must have project or organization administrator permissions to set up projects workflow.
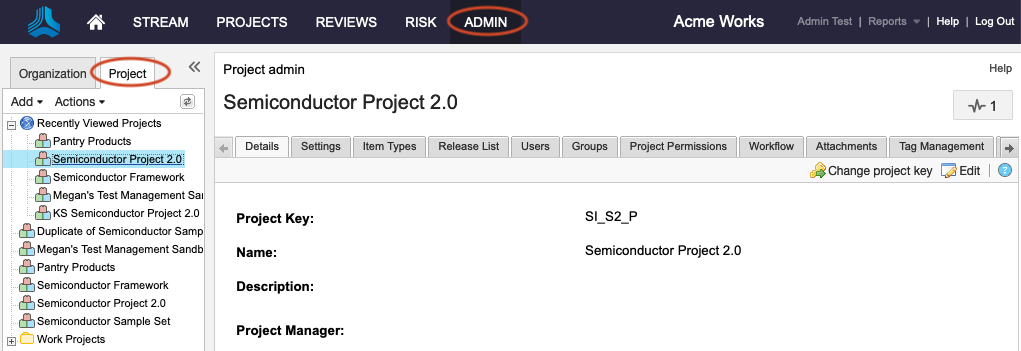
To manage workflows as a project administrator, select Admin > Project.
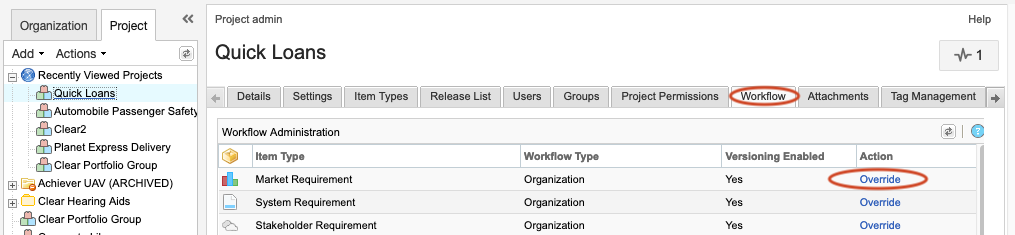
Select the Workflow tab, then select Override for the workflow you want to edit.
If the organization administrator has configured it, select Override to make changes to any workflow.
You are prompted to confirm the changes.
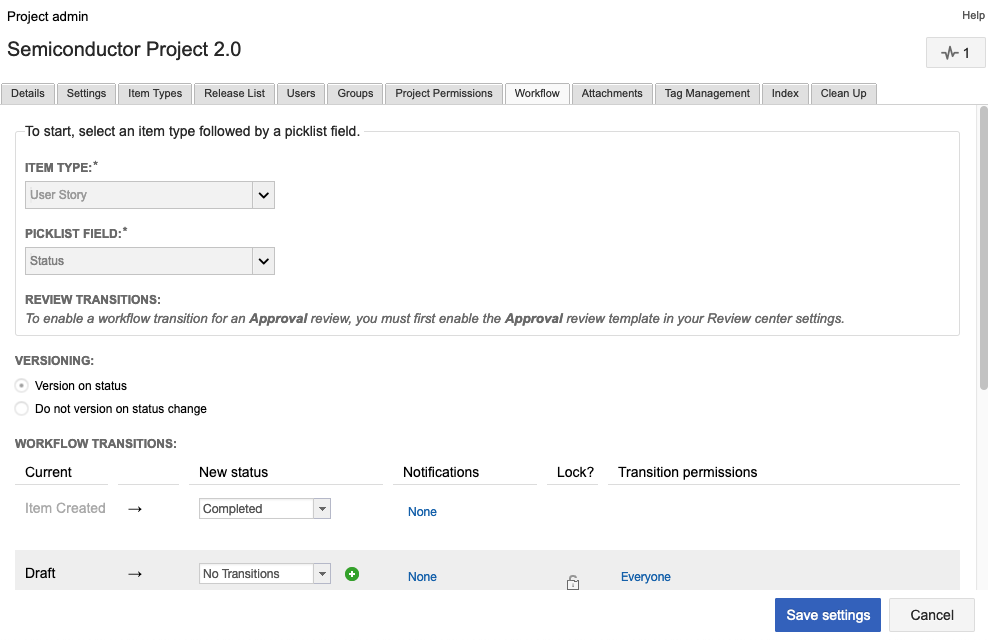
In the Workflow Configuration section, select the following options for the workflow you're creating.
Enable workflow for this organization
Allow project managers to override workflows on a project
Important: If you don't enable this option, performance might be impacted and it could trigger a long transaction if the organization has over 10 workflows.
Workflow for Item Type
What picklist field should workflow apply to
Version items on workflow status change
Note
You can only associate one pick list field per item type. The field you associate must be a pick list field; multi-select lists don't work.
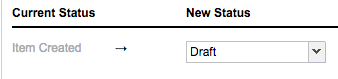
In the first row of the Current Status table, specify an initial state for the item when it's created. This is the default status of the item, and it overwrites the default field status if one is set.
In the following rows, specify the workflow, who is allowed to make those transitions, and the actions that occur when an item changes status. For example, like locking the item or sending an email.

Tip
Use the pull-down to move the current status to a new status and trigger related actions or notifications.
Edit the Action text to make messaging more useful or clear.
Use the green plus button or the red minus button to add or remove transitions in your workflow.
Select the lock icon to lock or unlock the item when it reaches a certain status (like "draft," "approved" or "complete").
Note
This lock is a "system lock" that's slightly different from a user lock. A user lock can still be edited by the user who locked it and easily unlocked by the same user or an admin. If an item is in a system lock, no one can edit the item. Admins can still unlock the item, but we recommend using transitions to move an item to a state where it can edited again.
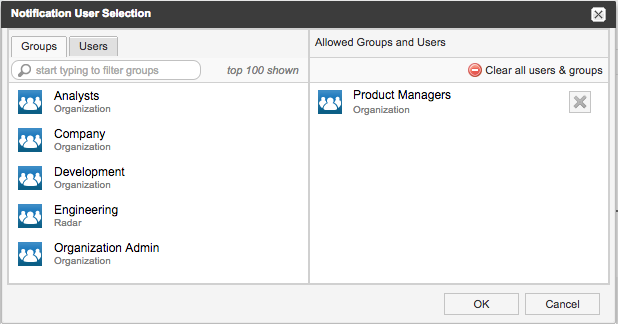
Select the link in the Transition permissions column to choose who can make these transitions.
Select the link in the notifications column to send an email notification when a user transitions the status of an item.
If you send a notification, a message appears where you can document the transition and reason for changing the status.
Click Save.