Create and export views in the Coverage Explorer
Coverage Explorer enables you to analyze the relationships established across items in your project and identify gaps. For example, you can use Coverage Explorer to identify if any requirements lack verifications, or to ensure your requirements trace to “passed” verifications.
A view can contain a maximum of 500 items per level. You can bookmark a view to highlight and prioritize it. Only the view's creator can rename or delete it.
To use Coverage Explorer:
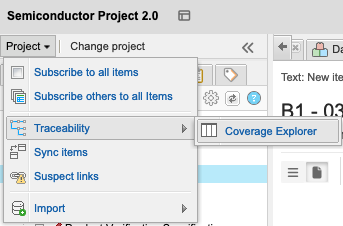
Select PROJECTS in the header, then select Project > Traceability > Coverage Explorer.
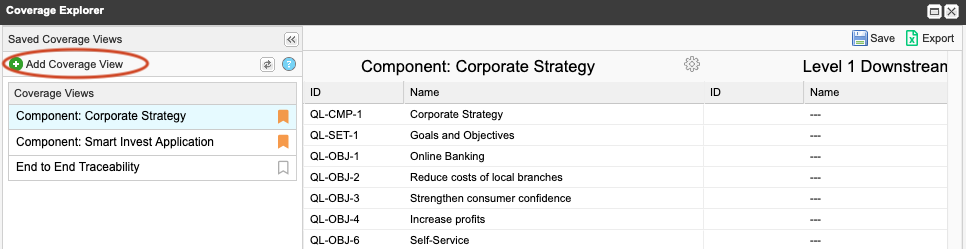
Select Add Coverage View to open the Select Items window.
Select the items you want to analyze for coverage.
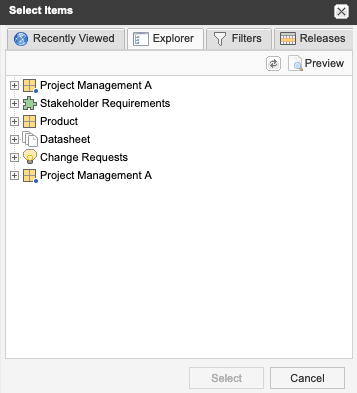
To change your view, use the tabs at the top: Recently Viewed, Explorer, Filters, and Releases.
With the items selected that you want to analyze, choose Select to close the window.
(Optional) To hide, show, or reorder fields for that level, select the gear icon at the top of the Coverage Explorer.
(Optional) To add a new level of downstream relationships, select the green plus button.
You can add only one item type per level. However, if you add a downstream level and leave the item type blank, Coverage Explorer displays all items regardless of type if type isn't selected.
Select Save.
(Optional) Deselect the star by selecting it again.
Select Export to generate an Excel document.
An Excel document is exported, where you can analyze the results.