Export to Word
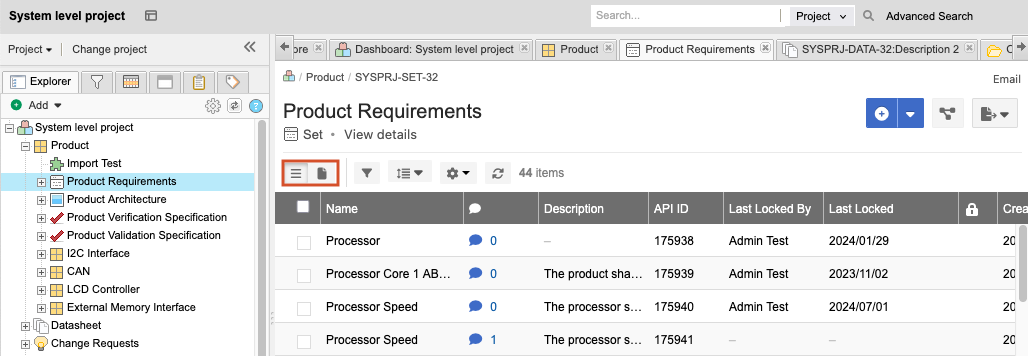
You can export a set of items to a Microsoft Word document. You can export from List View or Document View.
The default Word export is a boilerplate that was created with Office Templates. You can modify the default template to meet your needs.
Tip
Word for Mac is known to have some issues with exporting certain formats and tables. If you experience issues, eliminate special formatting or tables within tables.
To export data to a Word file:
Select the items you want to export using the Explorer Tree or an advanced filter, then select the view: List View or Document View.

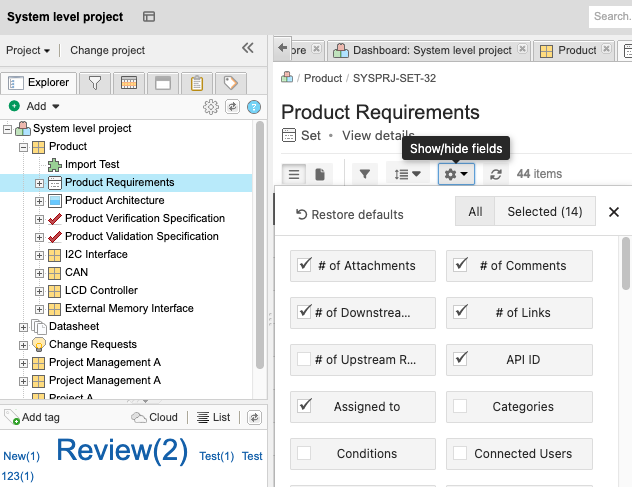
(Optional) Customize your output by including fields or excluding fields for your document:
From your view (List View or Document View), select the gear icon to display the list of available fields.

Select the fields you want to include in your document and deselect the fields you don't want.
Select X to close the window.
The screen now includes only the fields you selected.
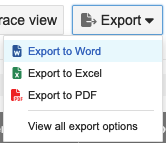
In the toolbar, select Export > Export to Word.

Your exported content is displayed according to the view you selected:
List View — Exported items are displayed as a table of contents, followed by each item, its name, and a list of its field names and values.
Document View — Exported items are displayed as section headings followed by item details.
Method
Results
Explorer Tree
The selected container becomes the title page for the export.
Advanced filter within one project
Reading View includes the container hierarchy above the filtered items, up to the top of the project. Container items that show hierarchy have a grayed-out (disabled) checkbox, while the rest of the items can be selected. Hierarchical containers are exported with the content items.