Manage project-level groups
Project-level groups are useful when you are fine-tuning permissions or creating email lists.
Organization and Project Admins only
You need organization or project admin permissions for this task.
Important considerations
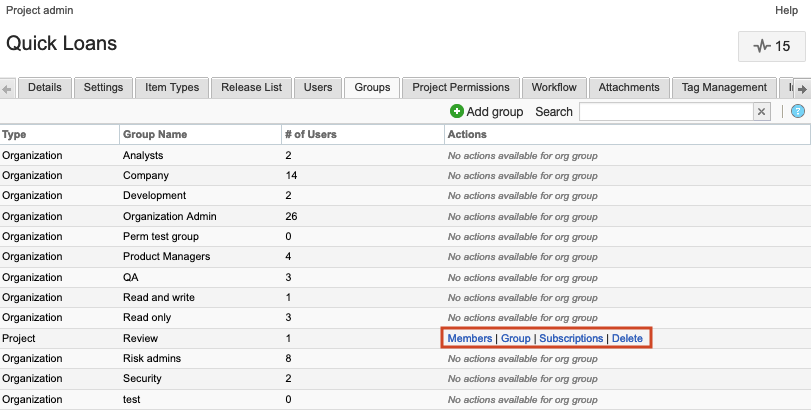
You can manage groups of users that already have access to a project. You can edit the group name, description, and members, as well as edit the group's subscriptions. You can also delete the group.
You can manage only project-level groups, not organization-level groups. Only an organization admin can add, delete or edit groups at the organization level.
To manage project-level groups:
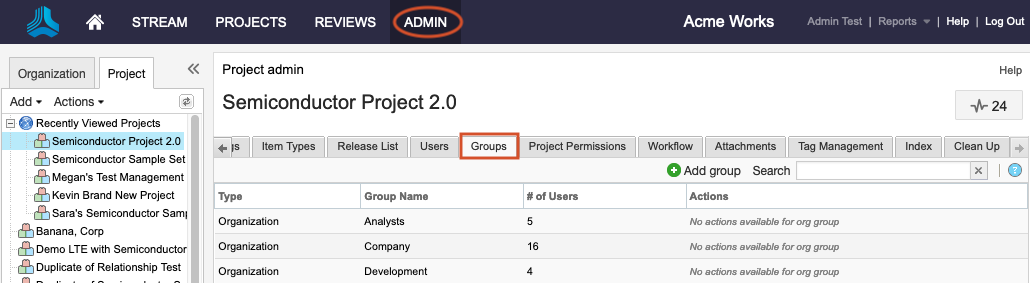
Select ADMIN > Project, then select Groups.
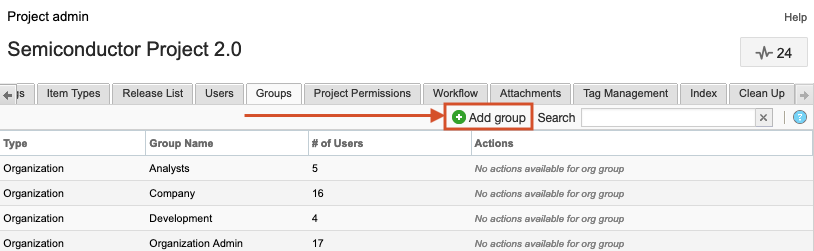
To create a new group:
Select Add Group in the top right toolbar.
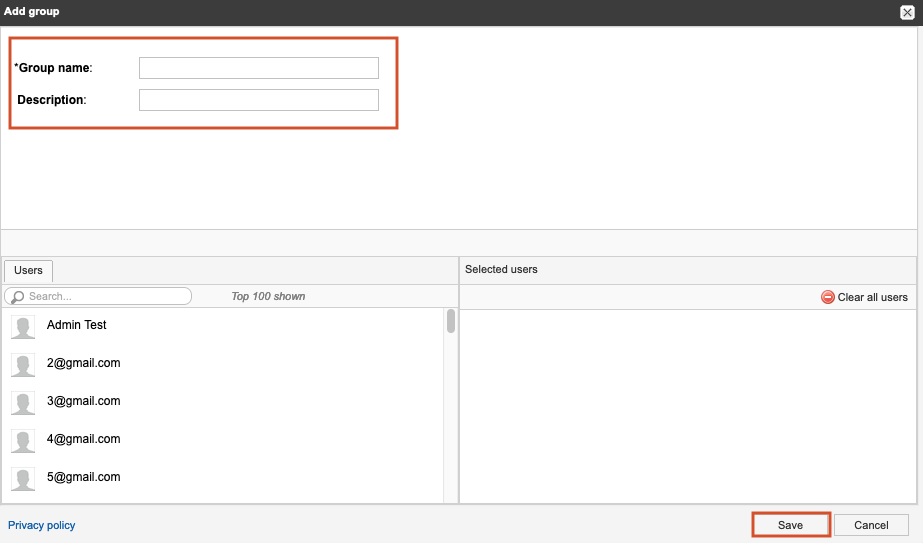
In the window that opens, give the group a name and description, select users for the group, then select Save.
To edit or delete an existing group, use the buttons in the Actions column for the group you want to edit.
Your changes are saved and are reflected in the group list.