Add a component
A component is a structural container item used to organize a project into more manageable pieces.
For example, you might define each piece of your product with a different component.
Components can only be located or moved to the root of the Explorer Tree or inside another component.
Components might contain sets of various item types, text items, and sub-components. Each component can have different access rights.
Note
Text items can appear anywhere in this structure.
To add a component:
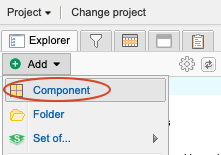
Open the Add Item window using one of these methods:
Wherever you want to add a component or subcomponent in the Explorer Tree, select the project name.
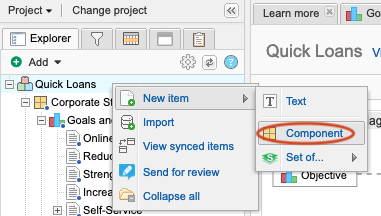
Select Add > Component at the top of the left panel in the project where you want to add the component.
In the Add Item window:
Write a name and description for the component.
(Optional) Select Notify to select users or groups you want to notify about the creation of this component.
(Optional) To add more components, select Add another.
(Optional) Use the Select Location window to choose where to put the new folder.
This option appears only if you created a folder from the Add drop-down menu.
Invalid locations are disabled.
Select Save and Close.
The newly created component is now included in your project.