Add a new related item
You can add a new item and relate it to one or more items of the same type at the same time.
To add a new related item:
View the items to be related in List View or Trace View.
Select the items where you want to add related items. All selected items must be the same item type.
From the side toolbar, select Add > Add related, then from the drop-down menu, select the item type for the upstream or downstream items you want to add. The drop-down menu lists only item types allowed by relationship rules.
When a rule is applied, it dictates the direction and relationship type for the item you want to relate.
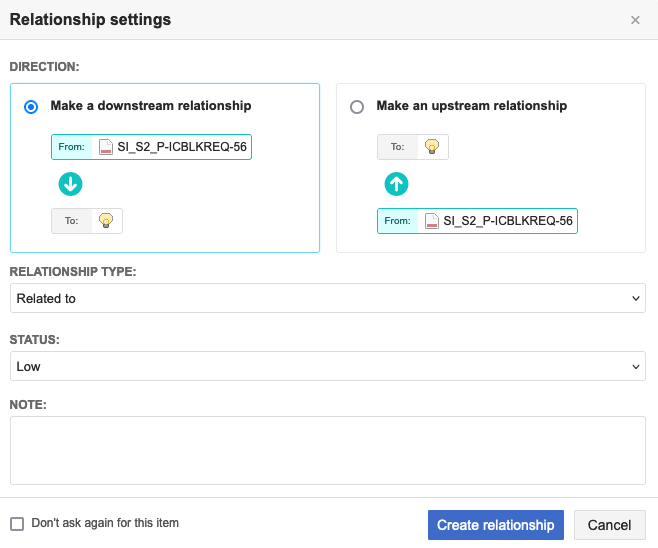
If a rule is not applied: In the Relationship settings window, select the direction (upstream or downstream) and the relationship type for the item you want to relate (must be configured by an organization administrator), then select Create relationship.
Common examples include: related to, dependent on, derived from, validated by, verified by, or mitigated by.
In the Add Item window, enter a name, description, and other details as needed, then select Save.
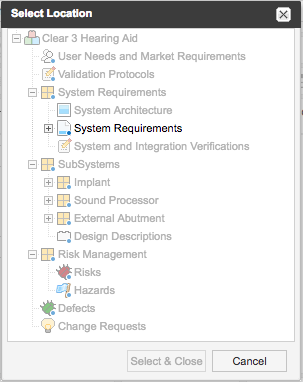
In the Select Location window, choose where to save this item, then choose Select & Close.
Locations that aren't permitted appear in light gray. You might need to expand folders, sets, or components to find the location you want.
If you selected Notify, enter the comment, select groups or users to notify, then select Save Changes.
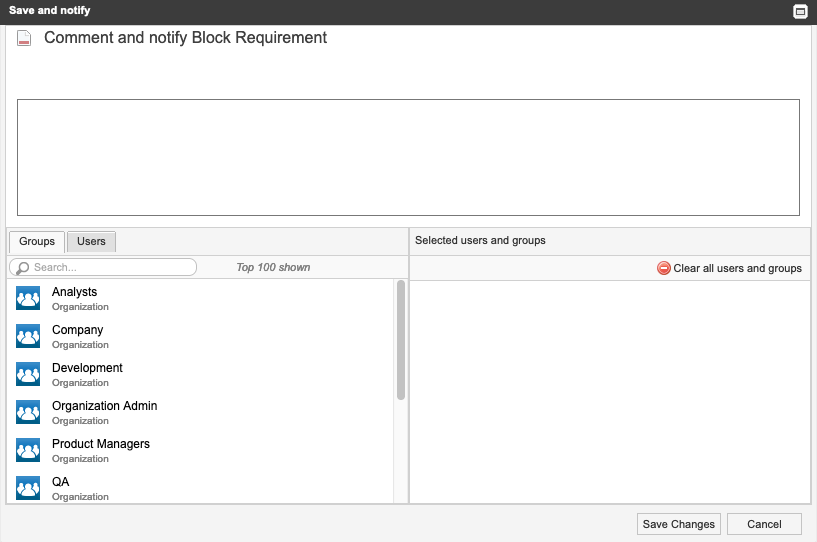
The changes are saved and the groups or users are notified of the changes.