Modify a tile in the diagram
When you don’t need to track or include certain data in a specific tile, you can modify the diagram by turning on or off specific items or relationship rules in that tile.
Scenarios for modifying a tile
If a specific item or relationship rule isn’t needed for the Trace Score, you can exclude it from the tile without excluding it from other places in the diagram.
If a specific item or relationship rule isn't applicable to a certain phase of your project, you can turn it off to reduce noise.
Important considerations
All item types and relationship rules are turned on by default.
When an item type is turned off, all relationship rules associated with that item type are automatically turned off.
Selections and exclusions are made to an individual tile from the specification tiles. To make selections or exclusions from Global settings, see Modify the entire diagram.
To filter an item type, that item type must contain at least one picklist or multi-select field.
To modify one tile in the diagram:
From the top navigation, select the Actions menu, then select Configuration settings.

The Configuration panel opens to the left of the diagram and lists all the specification tiles that exist within the diagram. By default, all item types are included.
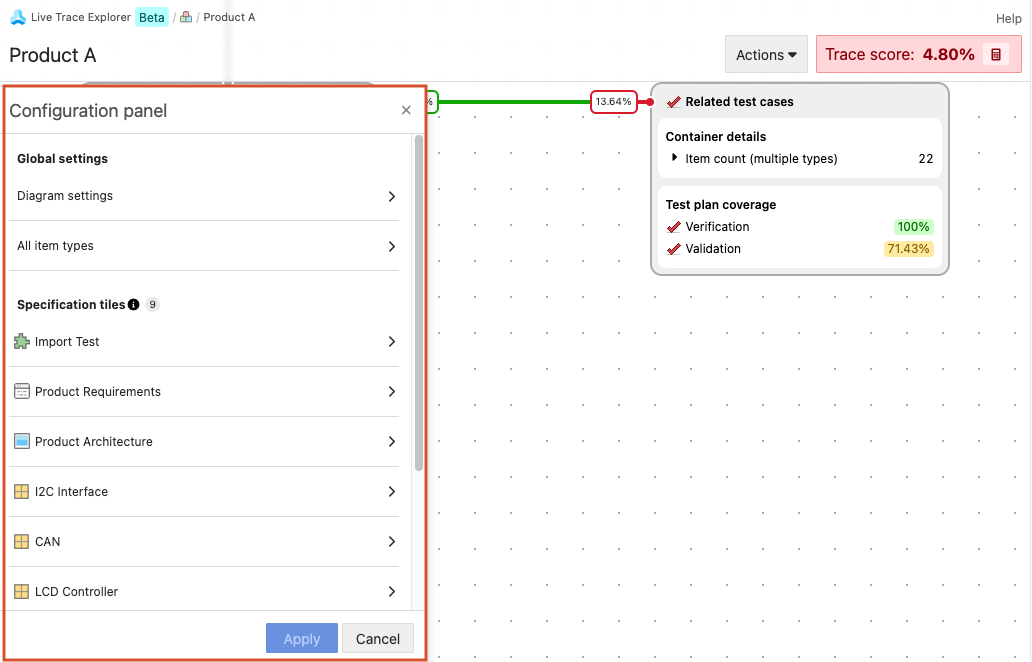
To turn off an item type:
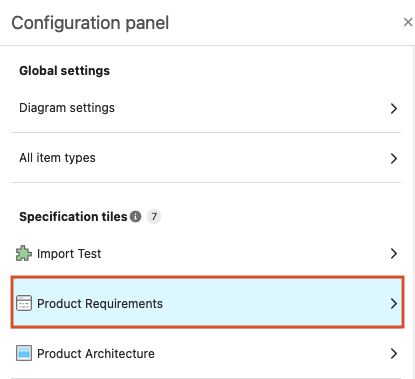
In the Specification tiles section, select the tile you want to modify (for example, Product Requirements).
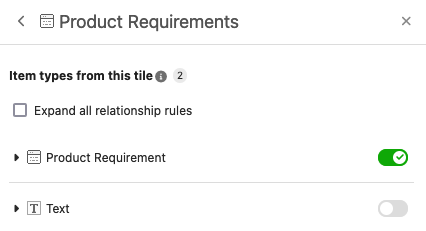
Select the green toggle switch for the item type you want to turn off. The toggle switch is gray when the item is turned off.
Select Apply.
A confirmation message notifies you that the diagram was updated.
(Optional) To include the item type again, select its gray toggle switch to turn on the item. The switch appears green with a checkmark to indicate that the item type is again included in the diagram.
To turn off a relationship rule:
In the Specification tiles section, select the tile that includes the relationship rule you want to turn off.
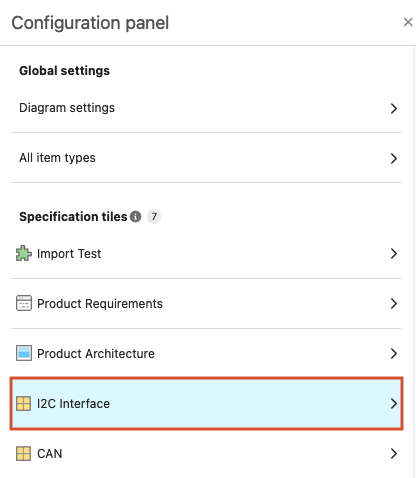
Select the arrow icon to expand the list.
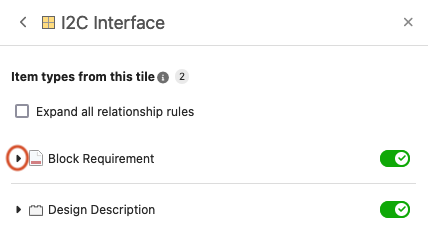
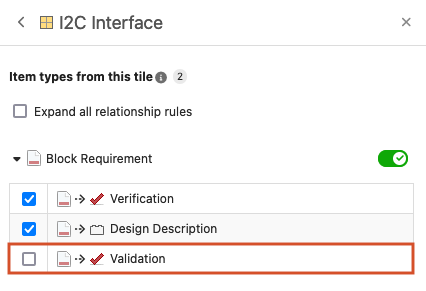
Select the blue checkbox next to the relationship rule you want to turn off (for example, Validation). The checkbox is unchecked and gray when the relationship is turned off.
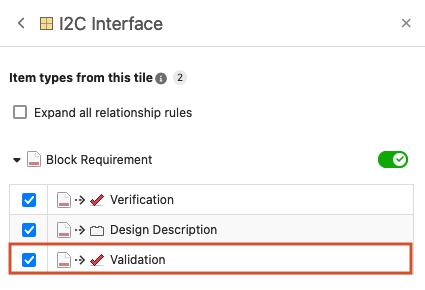
In the example below, relationship rule Validation is turned off.
Select Apply.
A confirmation message notifies you that the diagram was updated.
(Optional) To include the relationship again, select the gray checkbox to turn on the relationship. The checkbox appears blue with a checkmark to indicate that the relationship is again included in the diagram.
To filter an item type:
In the Specification tiles section, select the tile with the item type you want to filter, then select the Filter button.
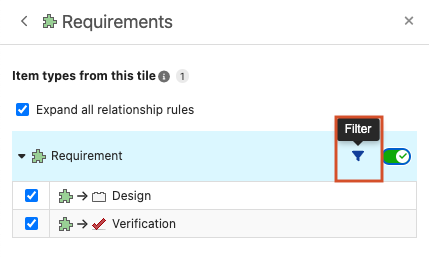
In the window that opens, set a rule: select filter options from existing picklists and multi-select fields assigned to this item type, then select Set filter.

A teal dot on the Filter button indicates that a filter has been set.
To apply the changes, select Apply.
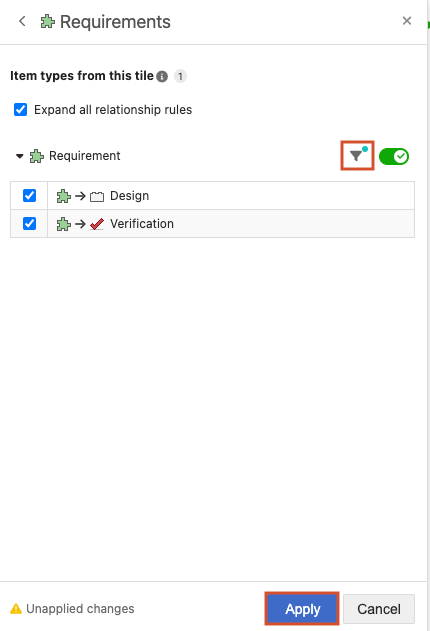
A confirmation message notifies you that the diagram was updated. The filtered Specification tile, trace score, and any associated trace paths are refreshed.
To remove a filter:
Next to a filtered item type, select the Filter button.
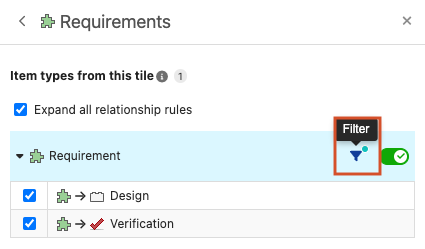
In the window that opens, select Remove.

To apply the changes, select Apply.
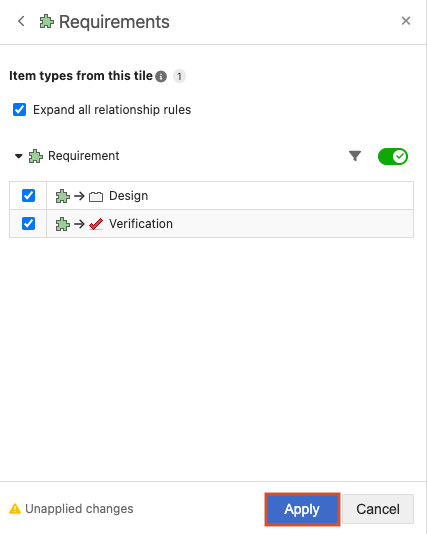
A confirmation message notifies you that your configuration settings were updated.
To update a filter:
Next to a filtered item type, select the Filter button.

In the window that opens, select the filter options you want to change, then select Update.

The changes are reflected in the filter.
To apply the changes, select Apply.
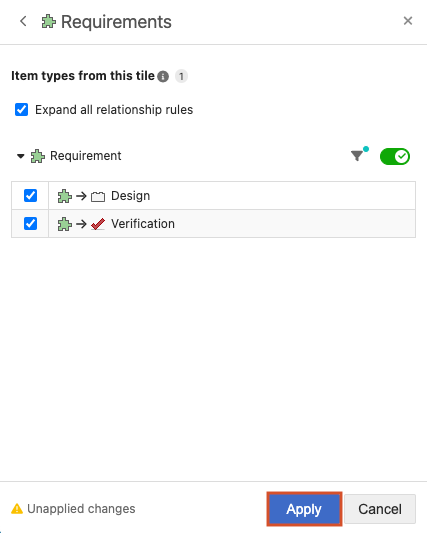
A confirmation message notifies you that your configuration settings were updated.