Configure Compare View for synchronized items
Configuring the Compare View window allows you to customize which fields you see, as well as relationships, widgets, and item types.
To configure Compare View:
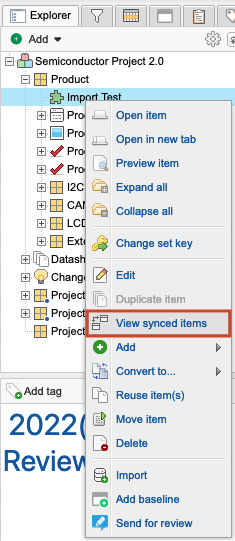
In the Explorer Tree, select the item, component, or set you want to sync, then select View synced items.

In the Sync Items window that opens, select Configure View in the top right corner.

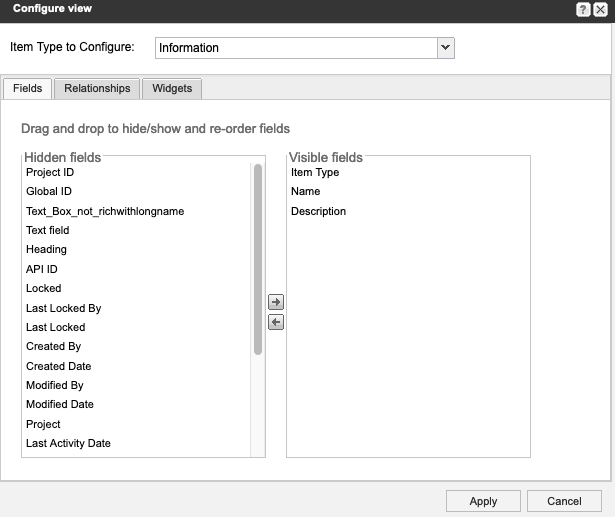
From the drop-down menu at the top of the Configure View window, select the item type you want to configure.
On the Fields tab, move the fields you want from the Hidden Fields column to the Visible Fields column, and move those you don’t want to the Hidden Fields column. You can drag or use the arrows.

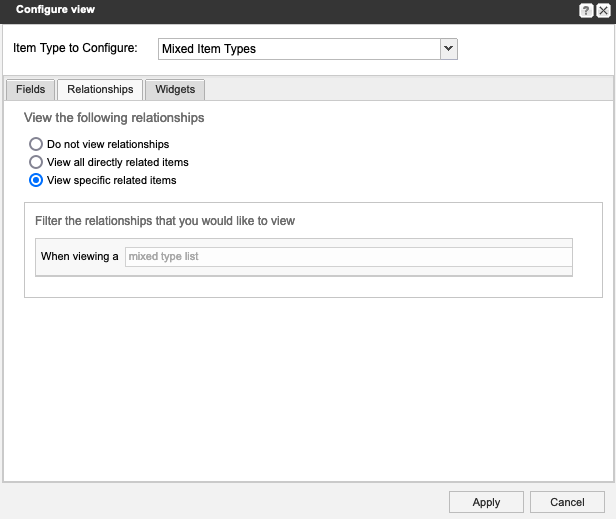
On the Relationships tab, select whether and how to view relationships in the Compare View window.

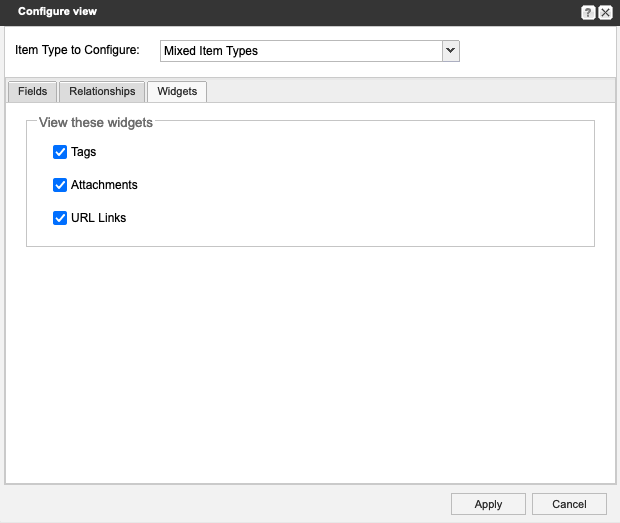
On the Widgets tab, select the widgets you want to see in the Compare View window.

(Optional) To save the changes you made in this window, select save a Compare View. Otherwise, the changes don't persist when you close this window.
Select Apply to save your changes.
The window is refreshed and your changes are saved.