All about baselines
A baseline in Jama Connect is a snapshot of your project at a point in time. The current version of each selected item — and their relationships — are forever associated with that baseline.
Why are baselines important?
A baseline captures the relationship between your selected project components, as well as their state. For example, Draft, Reviewed, and Approved.
A project in Jama Connect can have many baselines. You can use baselines as the basis for an export or as a reference for a historical milestone. By creating a baseline at each project milestone, you can view the status of your project at key points in the lifecycle. For example:
At gate reviews
Before a reorganization
Before an import of requirements
Where to create the baseline
In the Jama Connect Project, navigate to the Baselines tab and click Add > Baseline.
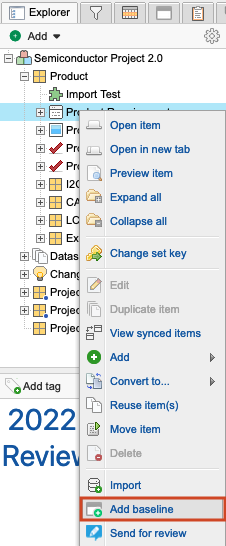
From the Explorer tree, right-click on a component, set, folder, or item, and select Add baseline.
Create a baseline
Are you ready to send an item for review? Or maybe you need to capture a snapshot of the current set of requirements. Perhaps your project has reached a milestone like testing or approval.
Create a baseline to secure a snapshot of one or several items in your project.
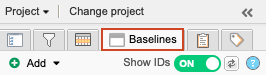
Select the Baseline tab from the left panel tabs of your project.
From the Add drop-down menu, select Baseline.
Select the criteria that you want to include in your baseline, using the three tabs in the pop-up window:
Item selection — A copy of the project where you are working. Select your entire project, a single set, multiple sets, a single item, or multiples items.
Releases — If you created a release, baseline one or multiple items.
Filters — Baseline any advanced filters you created.
Click Create. The Add Baseline window appears with a pre-populated name.
(Optional) Rename the baseline or add a description.
Click Save.
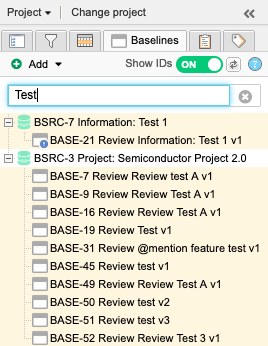
Your baseline is now created and is highlighted under the source where you created it.
Organize your baseline tree: the basics
Working with baselines is dynamic and intuitive: reorganize, rename, and restructure your tree however you want. Let’s create a folder or two, then we can arrange them.
Note: You must be a project admin or organization admin to do this.
From the Add drop-down menu, select Folder.
In the window that opens, type the name of the folder.
Click Save.
The new folder is saved at the top of your baseline tree.
Quick tips
To add a folder to an existing folder, right-click on a folder and select Add Folder.
To move a folder or a source, drag it to a location in your baseline tree.
Learn more about baselines
For detailed information about baselines, explore more topics in the User Guide: