Import items or test cases from Excel
Importing items or test cases from Excel to Jama Connect is called a one-way import. The process is handled by the Data Import Wizard, which guides you through the steps. The wizard recognizes .xls and .xlsx file types.
Important
To update existing items or create new items in an existing set between items, use an Excel round trip.
To import one-way from Excel:
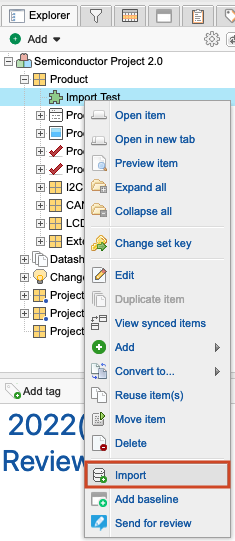
Open the Data Import Wizard: In the Explorer Tree, select the set or folder where you want to import new items, then select Import.
The first page of the wizard opens with the Destination field pre-populated.
Complete the Select Import File and Destination page, then select Next.
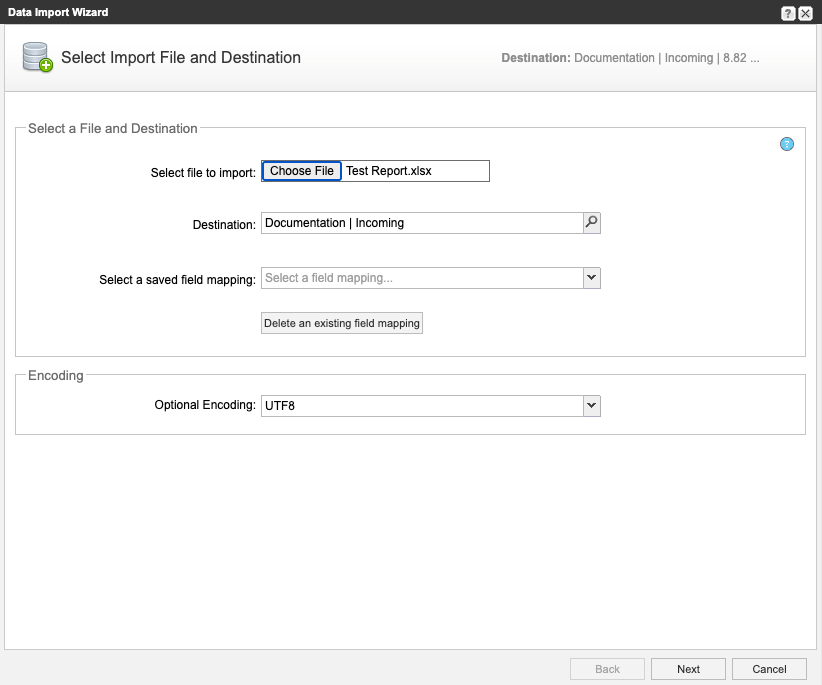
Select Choose File and select the Excel file you want to import. The wizard recognizes .xls and .xlsx file types. If the file type isn’t recognized, the import doesn't continue.
(Optional) Encoding — Select UTF8.
Complete the Choose Field Mappings for Import page, then select Next.
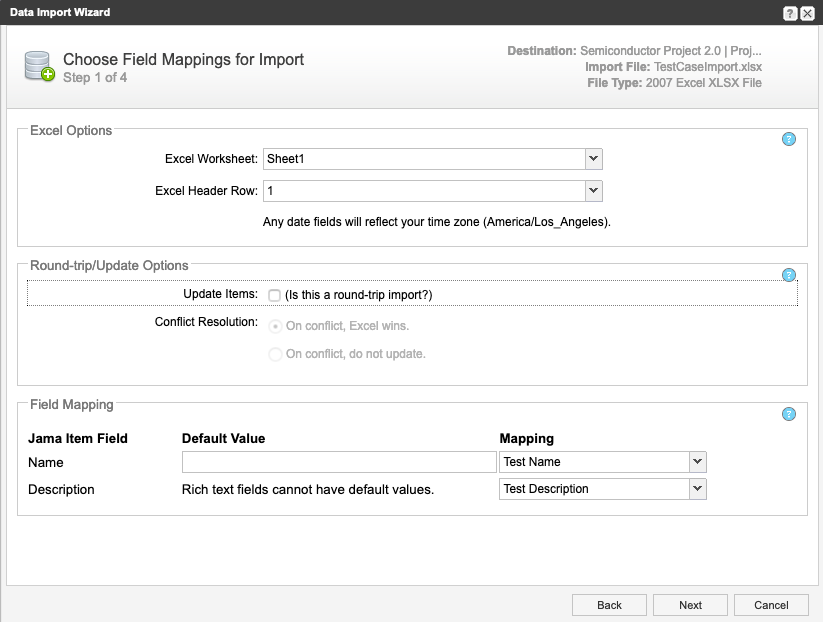
Excel Options — If your file has more than one worksheet, select the one you want to import, then enter the number for the header row. If a header row doesn't exist, select row 0, which populates the Mapping section with the Excel default column names.
Round trip/Update Options — For one-way import, leave these options unselected.
Field Mapping — Select the appropriate column from the worksheet for each field in Jama Connect where you want to import data. Select a mapping for Name and any required fields, as determined by the Admin configuration for the item type. Fields not required for the import don’t need to be mapped.
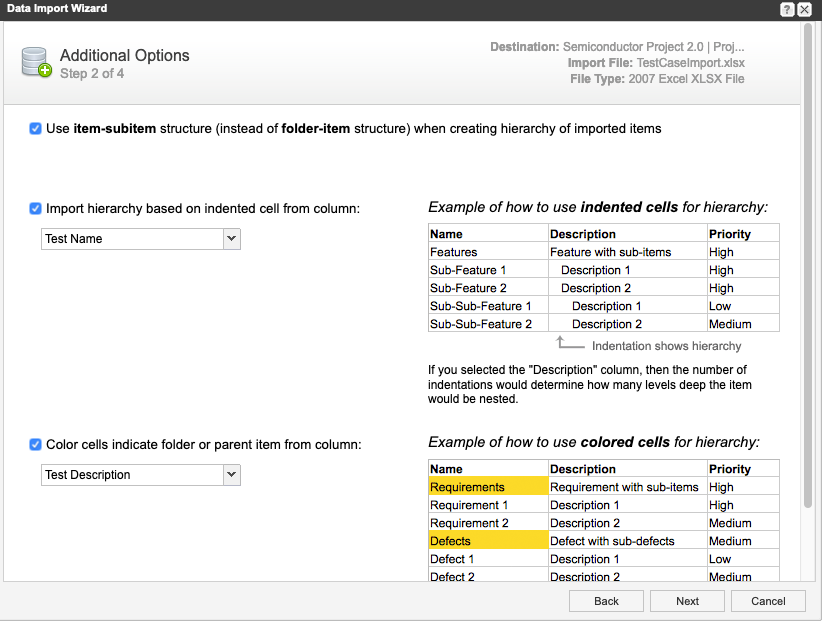
On the Additional options page, indicate whether your worksheet uses cell color or indentation for hierarchy, then select Next.
If the fields were mapped successfully, you see a preview of your import. Select Submit to import all items.
The Final Import Summary page confirms the total number of items imported.
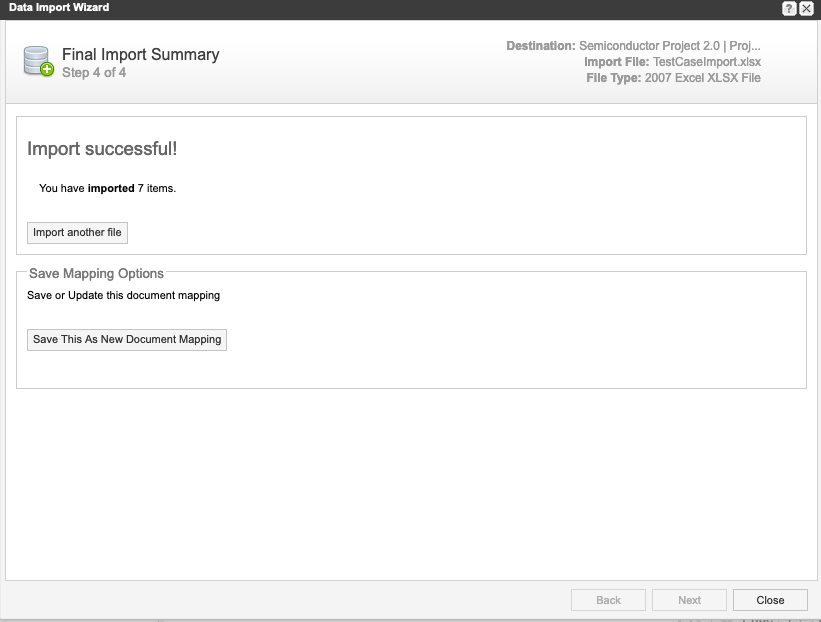
(Optional) Import another worksheet or save the current mappings to use for future uploads.
Note
Field mappings are project-specific and can be used by any user in the project where the mappings are saved.
Select Close.
Your file is imported below the selected item in the Explorer Tree.